> ## Documentation Index
> Fetch the complete documentation index at: https://leylandscompany.leylnd.me/llms.txt
> Use this file to discover all available pages before exploring further.
# Setup and payments
> Implement your app's payments and pricing model
In this example we'll create the pricing for a premium AI chatbot. We're going to have:
* A Free plan that gives users 5 chat messages per month for free
* A Pro plan that gives users 100 chat messages per month for \$20 per month.
Create a plan for each pricing tier that your app offers. In our example we'll create a "Free" and "Pro" plan, and assign them features.
Browse our [Examples](/examples) for guides on setting up credit systems, top ups and other common pricing models.
Run the following command in your root directory:
```bash bun theme={null}
bunx atmn init
```
```bash npm theme={null}
npx atmn init
```
```bash pnpm theme={null}
pnpm dlx atmn init
```
This will prompt you to login or create an account, and create an `autumn.config.ts` file. Paste in the code below, or view our [config schema](/cli/config) to build your own.
```typescript autumn.config.ts [expandable] theme={null}
import { feature, item, plan } from "atmn";
// Features
export const messages = feature({
id: "messages",
name: "Messages",
type: "metered",
consumable: true,
});
// Plans
export const free = plan({
id: "free",
name: "Free",
autoEnable: true,
items: [
// 5 messages per month
item({
featureId: messages.id,
included: 5,
reset: { interval: "month" },
}),
],
});
export const pro = plan({
id: "pro",
name: "Pro",
price: {
amount: 20,
interval: "month",
},
items: [
// 100 messages per month
item({
featureId: messages.id,
included: 100,
reset: { interval: "month" },
}),
],
});
```
Then, push your changes to Autumn's sandbox environment.
```bash bun theme={null}
bunx atmn push
```
```bash npm theme={null}
npx atmn push
```
```bash pnpm theme={null}
pnpm dlx atmn push
```
If you already have products created in the dashboard, run `atmn pull` to
pull them into your local config.
Create your [Autumn account](https://app.useautumn.com/), and the Free and Pro plans in the [Plans](https://app.useautumn.com/products) tab.
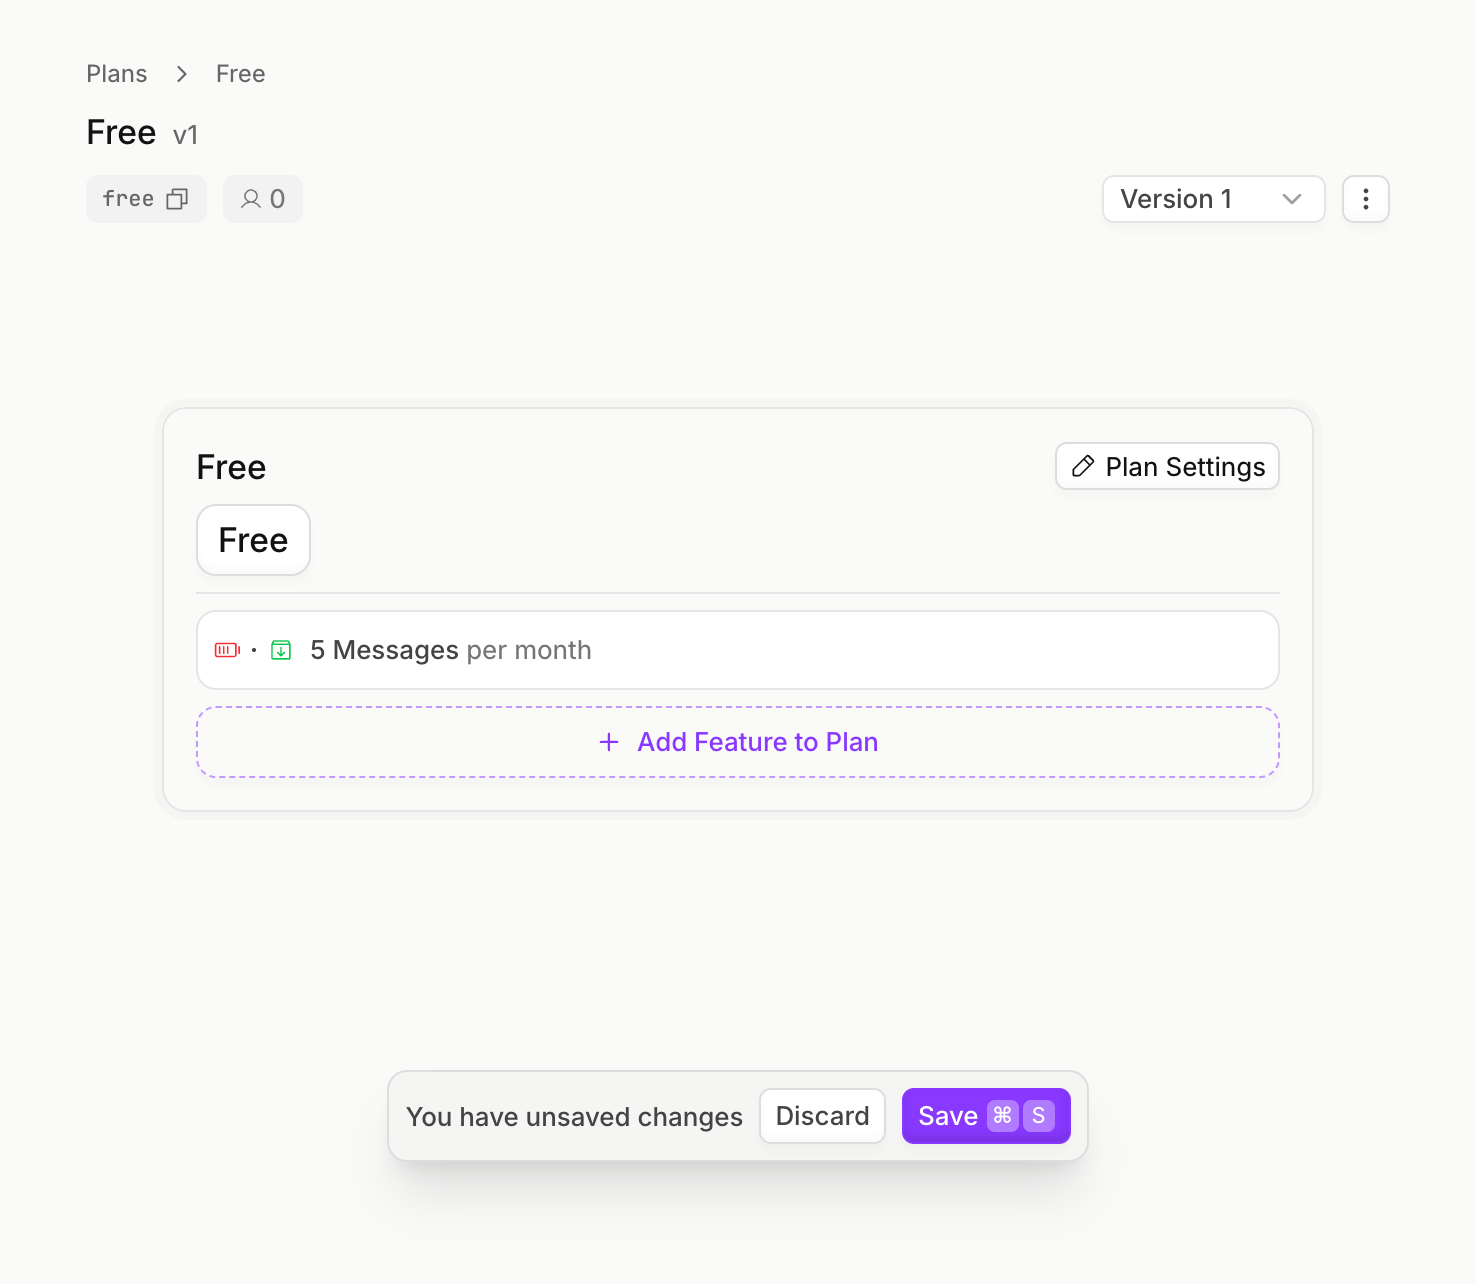
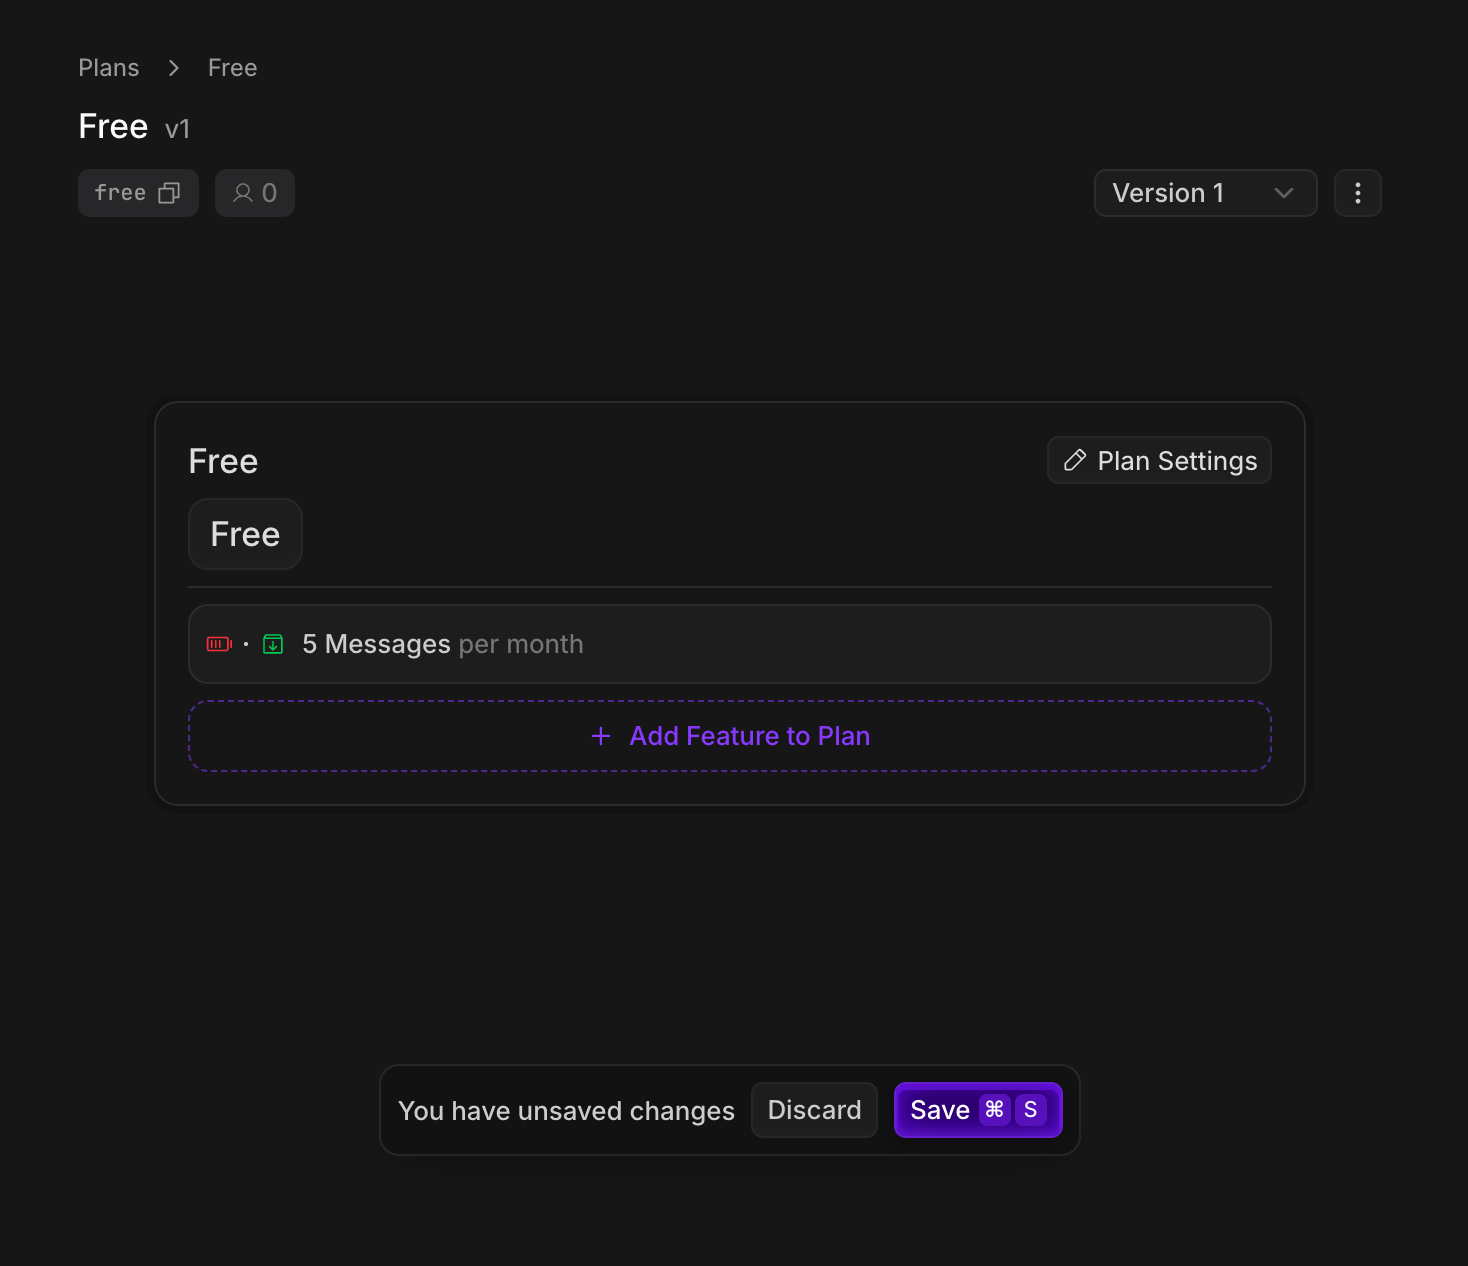
* On the [Plans](https://app.useautumn.com/products) page, click **Create Plan**.
* Name the plan (eg, "Free") and select plan type `Free`
* Toggle the `auto-enable` flag, so that the plan is assigned whenever customers are created
* In the plan editor, click **Add Feature to Plan**, and create a `Metered`, `Consumable` feature for "messages"
* Configure the plan to grant `5` messages, and set the interval to `per month`
* Click **Save**
 * On the [Plans](https://app.useautumn.com/products) page, click **Create Plan**.
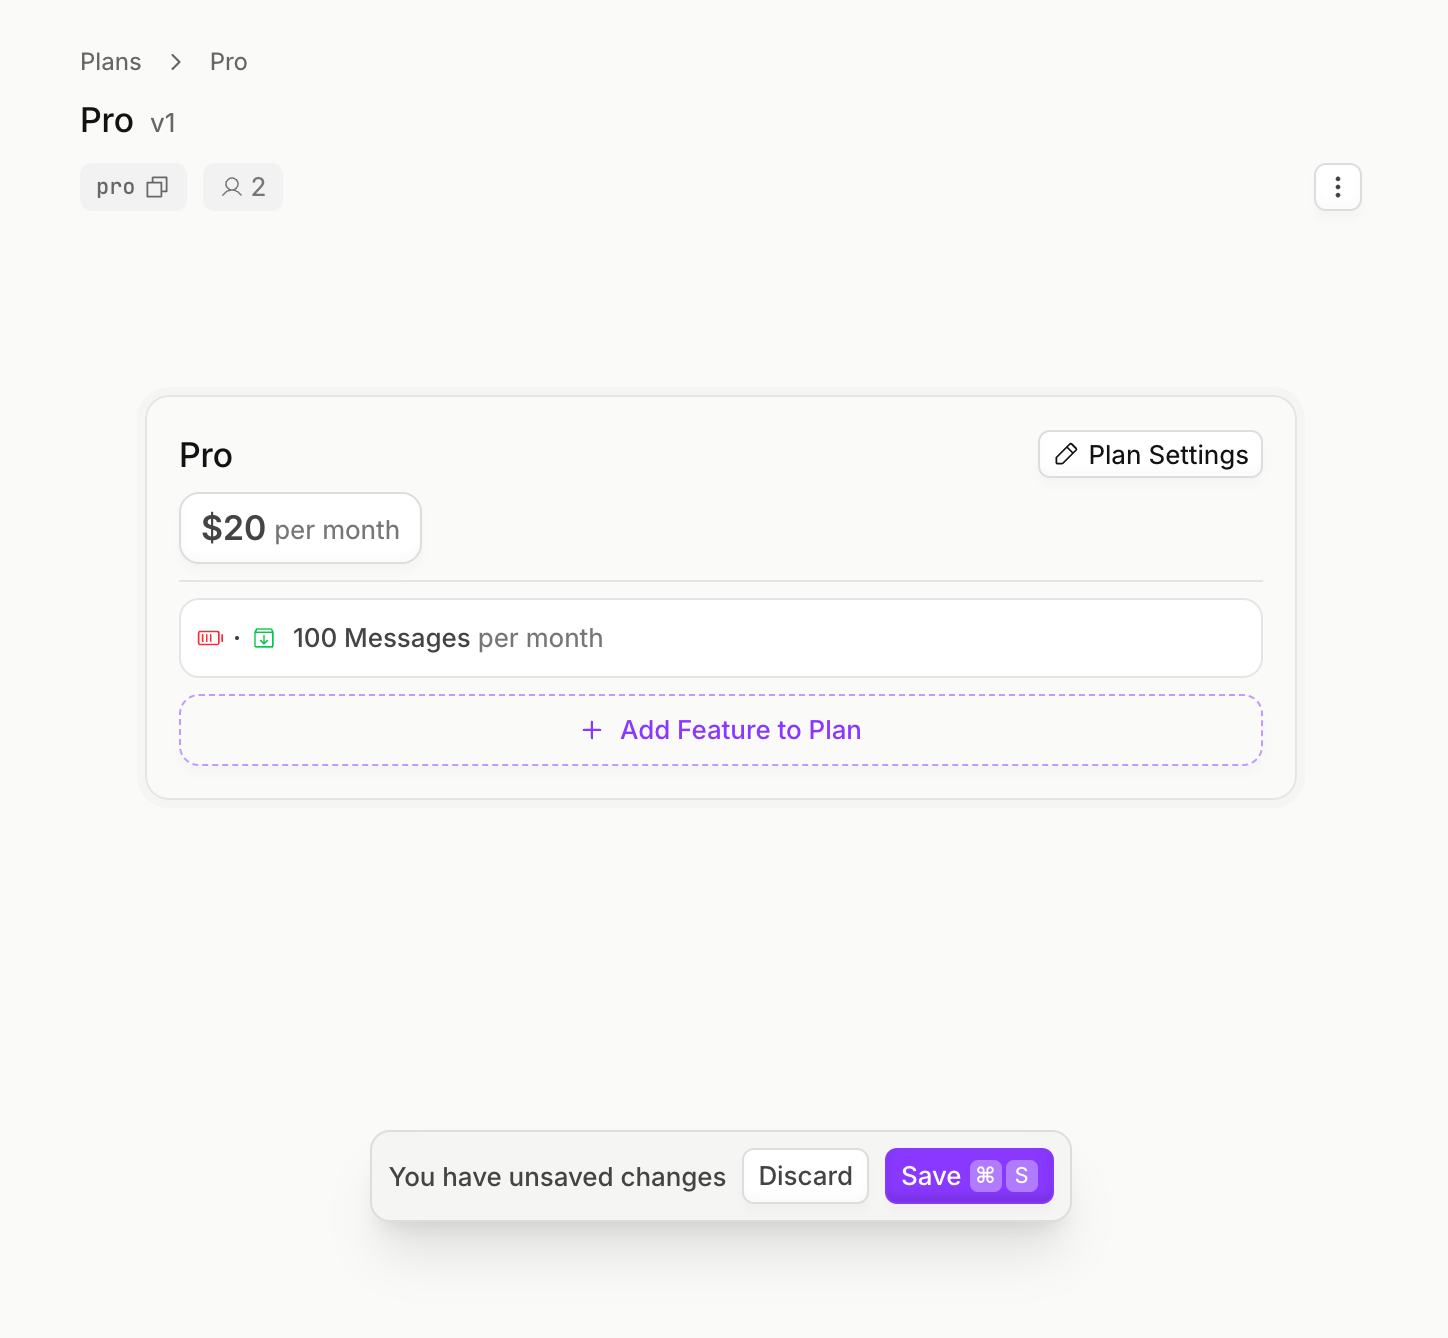
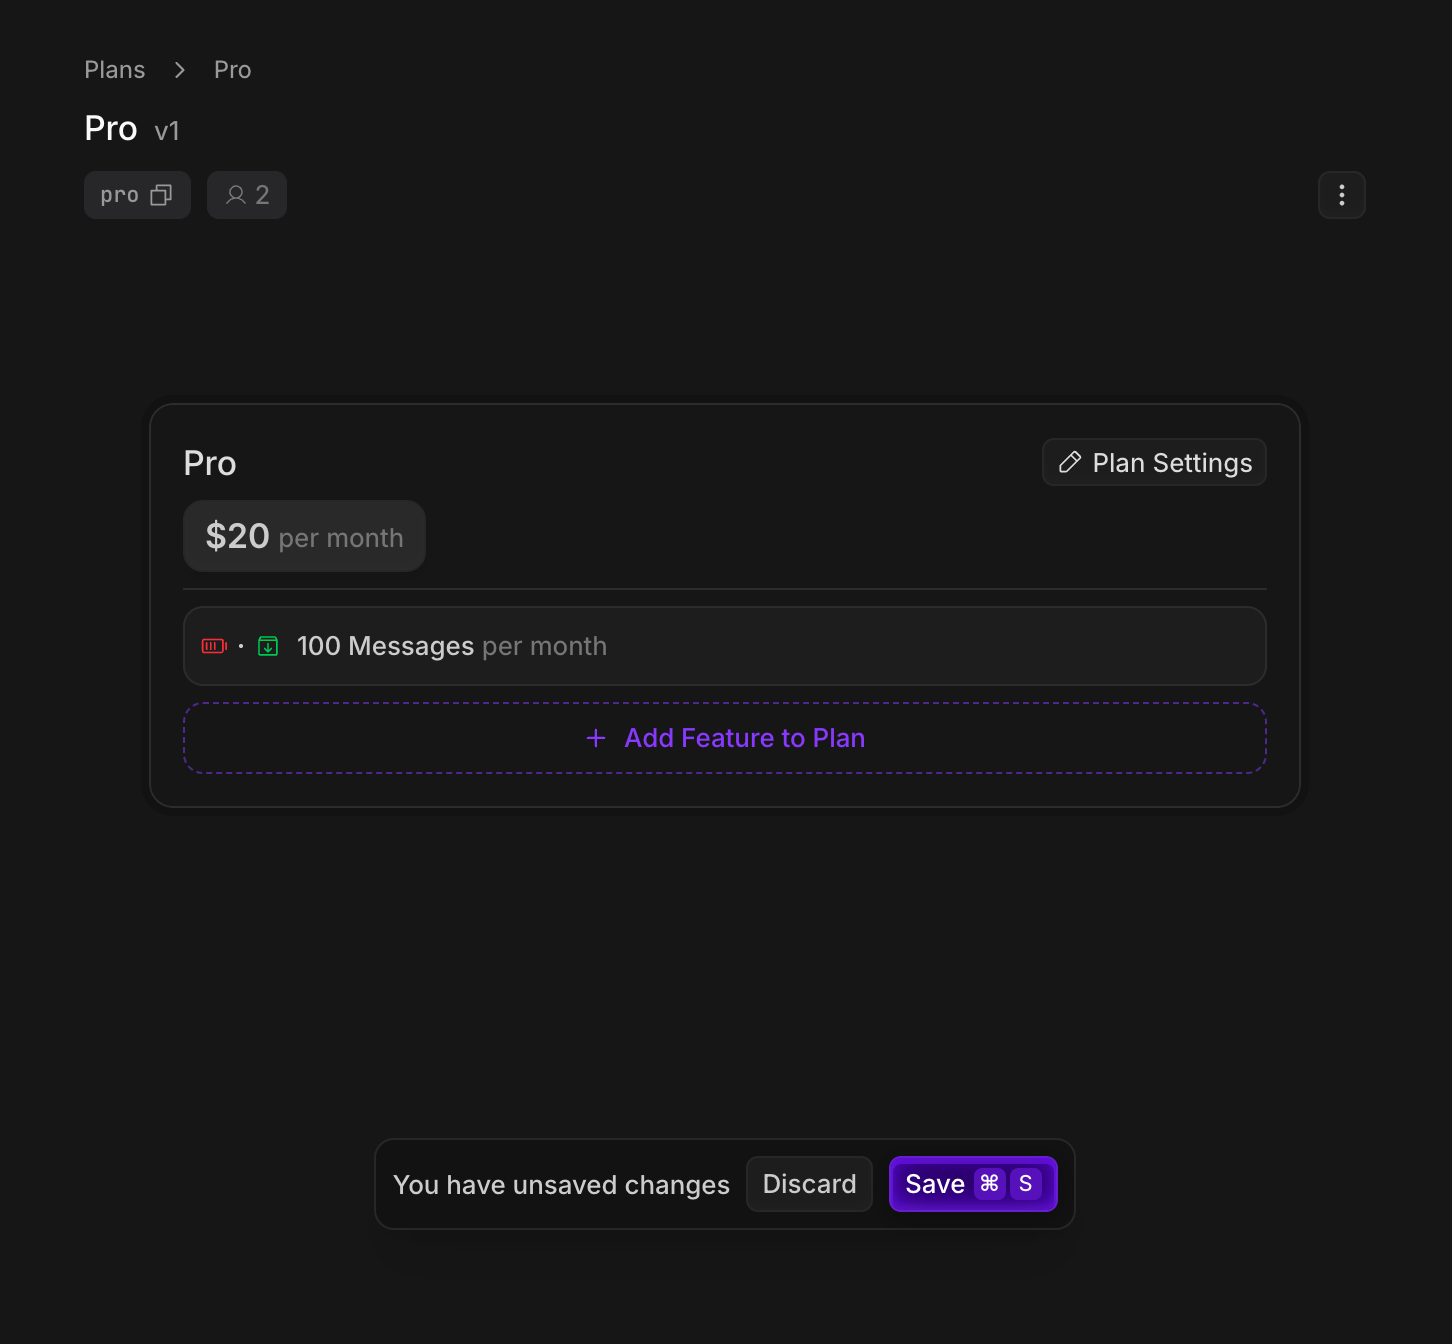
* Name the plan (eg, "Pro") and select plan type `Paid`, `Recurring`, and set the price to `$20` per month
* In the plan editor, click **Add Feature to Plan**, and add the `messages` feature that you created in the Free plan
* Configure the plan to grant `100` messages, and set the interval to `per month`
* Click **Save**
* On the [Plans](https://app.useautumn.com/products) page, click **Create Plan**.
* Name the plan (eg, "Pro") and select plan type `Paid`, `Recurring`, and set the price to `$20` per month
* In the plan editor, click **Add Feature to Plan**, and add the `messages` feature that you created in the Free plan
* Configure the plan to grant `100` messages, and set the interval to `per month`
* Click **Save**
 [Create an Autumn Secret key](https://app.useautumn.com/sandbox/dev?tab=api_keys), and paste it in your `.env` variables. Then, install the Autumn SDK. If you're using the CLI, this will be done for you.
```bash .env theme={null}
AUTUMN_SECRET_KEY=am_sk_test_42424242...
```
```bash bun theme={null}
bun add autumn-js
```
```bash npm theme={null}
npm install autumn-js
```
```bash pnpm theme={null}
pnpm add autumn-js
```
```bash yarn theme={null}
yarn add autumn-js
```
```bash pip theme={null}
pip install autumn-sdk
```
When the customer signs up, create an Autumn customer for them. Autumn will automatically enable the Free plan, since you marked it with the `auto-enable` flag.
```typescript TypeScript theme={null}
import { Autumn } from "autumn-js";
const autumn = new Autumn({
secretKey: "am_sk_42424242",
});
const customer = await autumn.customers.getOrCreate({
customerId: "user_or_org_id_from_auth",
name: "John Doe",
email: "john@example.com",
});
```
```python Python theme={null}
import asyncio
from autumn_sdk import Autumn
autumn = Autumn('am_sk_42424242')
async def main():
customer = await autumn.customers.get_or_create(
customer_id="user_or_org_id_from_auth",
name="John Doe",
email="john@example.com",
)
asyncio.run(main())
```
```bash cURL theme={null}
curl --request POST \
--url https://api.useautumn.com/v1/customers \
--header 'Authorization: Bearer am_sk_42424242' \
--header 'Content-Type: application/json' \
--data '{
"customer_id": "user_or_org_id_from_auth",
"name": "John Doe",
"email": "john@example.com"
}'
```
Autumn's customer ID is the same as your internal user or org ID generated
from your auth provider. No need to store any extra IDs.
In the Autumn dashboard, you will see your user under the [customers](https://app.useautumn.com/customers) page.
Call `attach` when the customer wants to purchase the Pro plan. This will return a Stripe payment URL. Once they've paid, Autumn will grant access to "100 messages per month" defined in Step 1.
```typescript TypeScript theme={null}
import { Autumn } from "autumn-js";
const autumn = new Autumn({
secretKey: "am_sk_42424242",
});
const response = await autumn.billing.attach({
customerId: "user_or_org_id_from_auth",
planId: "pro",
redirectMode: "always",
});
// Redirect customer to complete payment or confirm plan change
redirect(response.paymentUrl);
```
```python Python theme={null}
import asyncio
from autumn_sdk import Autumn
autumn = Autumn('am_sk_42424242')
async def main():
response = await autumn.billing.attach(
customer_id='user_or_org_id_from_auth',
plan_id='pro',
redirect_mode='always',
)
asyncio.run(main())
```
```bash cURL theme={null}
curl -X POST 'https://api.useautumn.com/v1/attach' \
-H 'Authorization: Bearer am_sk_42424242' \
-H 'Content-Type: application/json' \
-d '{
"customer_id": "user_or_org_id_from_auth",
"plan_id": "pro",
"redirect_mode": "always"
}'
```
Use Stripe's test card `4242 4242 4242 4242` to make a purchase in sandbox.
You can enter any Expiry and CVV.
This can be used for any plan changes scenario (upgrades, downgrades, one-time topups, renewals, etc).
Upgrades will happen immediately, and downgrades will be scheduled for the next billing cycle.
The **`redirectMode: "always"`** flag will always return a payment URL.
New purchases redirect to Stripe Checkout to enter payment details, and subsequent charges redirect to an Autumn hosted, one-click confirmation page.
You can build your own billing confirmation flows by using the [previewAttach](/api-reference/billing/previewAttach) function.
**Next: Track and limit usage**
Now that the plan is enabled and you've handled payments, you can now make sure that customers have the access to the right features and limits based on their plan.
Enforce usage limits and feature permissions using Autumn's `check` and
`track` functions
[Create an Autumn Secret key](https://app.useautumn.com/sandbox/dev?tab=api_keys), and paste it in your `.env` variables. Then, install the Autumn SDK. If you're using the CLI, this will be done for you.
```bash .env theme={null}
AUTUMN_SECRET_KEY=am_sk_test_42424242...
```
```bash bun theme={null}
bun add autumn-js
```
```bash npm theme={null}
npm install autumn-js
```
```bash pnpm theme={null}
pnpm add autumn-js
```
```bash yarn theme={null}
yarn add autumn-js
```
```bash pip theme={null}
pip install autumn-sdk
```
When the customer signs up, create an Autumn customer for them. Autumn will automatically enable the Free plan, since you marked it with the `auto-enable` flag.
```typescript TypeScript theme={null}
import { Autumn } from "autumn-js";
const autumn = new Autumn({
secretKey: "am_sk_42424242",
});
const customer = await autumn.customers.getOrCreate({
customerId: "user_or_org_id_from_auth",
name: "John Doe",
email: "john@example.com",
});
```
```python Python theme={null}
import asyncio
from autumn_sdk import Autumn
autumn = Autumn('am_sk_42424242')
async def main():
customer = await autumn.customers.get_or_create(
customer_id="user_or_org_id_from_auth",
name="John Doe",
email="john@example.com",
)
asyncio.run(main())
```
```bash cURL theme={null}
curl --request POST \
--url https://api.useautumn.com/v1/customers \
--header 'Authorization: Bearer am_sk_42424242' \
--header 'Content-Type: application/json' \
--data '{
"customer_id": "user_or_org_id_from_auth",
"name": "John Doe",
"email": "john@example.com"
}'
```
Autumn's customer ID is the same as your internal user or org ID generated
from your auth provider. No need to store any extra IDs.
In the Autumn dashboard, you will see your user under the [customers](https://app.useautumn.com/customers) page.
Call `attach` when the customer wants to purchase the Pro plan. This will return a Stripe payment URL. Once they've paid, Autumn will grant access to "100 messages per month" defined in Step 1.
```typescript TypeScript theme={null}
import { Autumn } from "autumn-js";
const autumn = new Autumn({
secretKey: "am_sk_42424242",
});
const response = await autumn.billing.attach({
customerId: "user_or_org_id_from_auth",
planId: "pro",
redirectMode: "always",
});
// Redirect customer to complete payment or confirm plan change
redirect(response.paymentUrl);
```
```python Python theme={null}
import asyncio
from autumn_sdk import Autumn
autumn = Autumn('am_sk_42424242')
async def main():
response = await autumn.billing.attach(
customer_id='user_or_org_id_from_auth',
plan_id='pro',
redirect_mode='always',
)
asyncio.run(main())
```
```bash cURL theme={null}
curl -X POST 'https://api.useautumn.com/v1/attach' \
-H 'Authorization: Bearer am_sk_42424242' \
-H 'Content-Type: application/json' \
-d '{
"customer_id": "user_or_org_id_from_auth",
"plan_id": "pro",
"redirect_mode": "always"
}'
```
Use Stripe's test card `4242 4242 4242 4242` to make a purchase in sandbox.
You can enter any Expiry and CVV.
This can be used for any plan changes scenario (upgrades, downgrades, one-time topups, renewals, etc).
Upgrades will happen immediately, and downgrades will be scheduled for the next billing cycle.
The **`redirectMode: "always"`** flag will always return a payment URL.
New purchases redirect to Stripe Checkout to enter payment details, and subsequent charges redirect to an Autumn hosted, one-click confirmation page.
You can build your own billing confirmation flows by using the [previewAttach](/api-reference/billing/previewAttach) function.
**Next: Track and limit usage**
Now that the plan is enabled and you've handled payments, you can now make sure that customers have the access to the right features and limits based on their plan.
Enforce usage limits and feature permissions using Autumn's `check` and
`track` functions